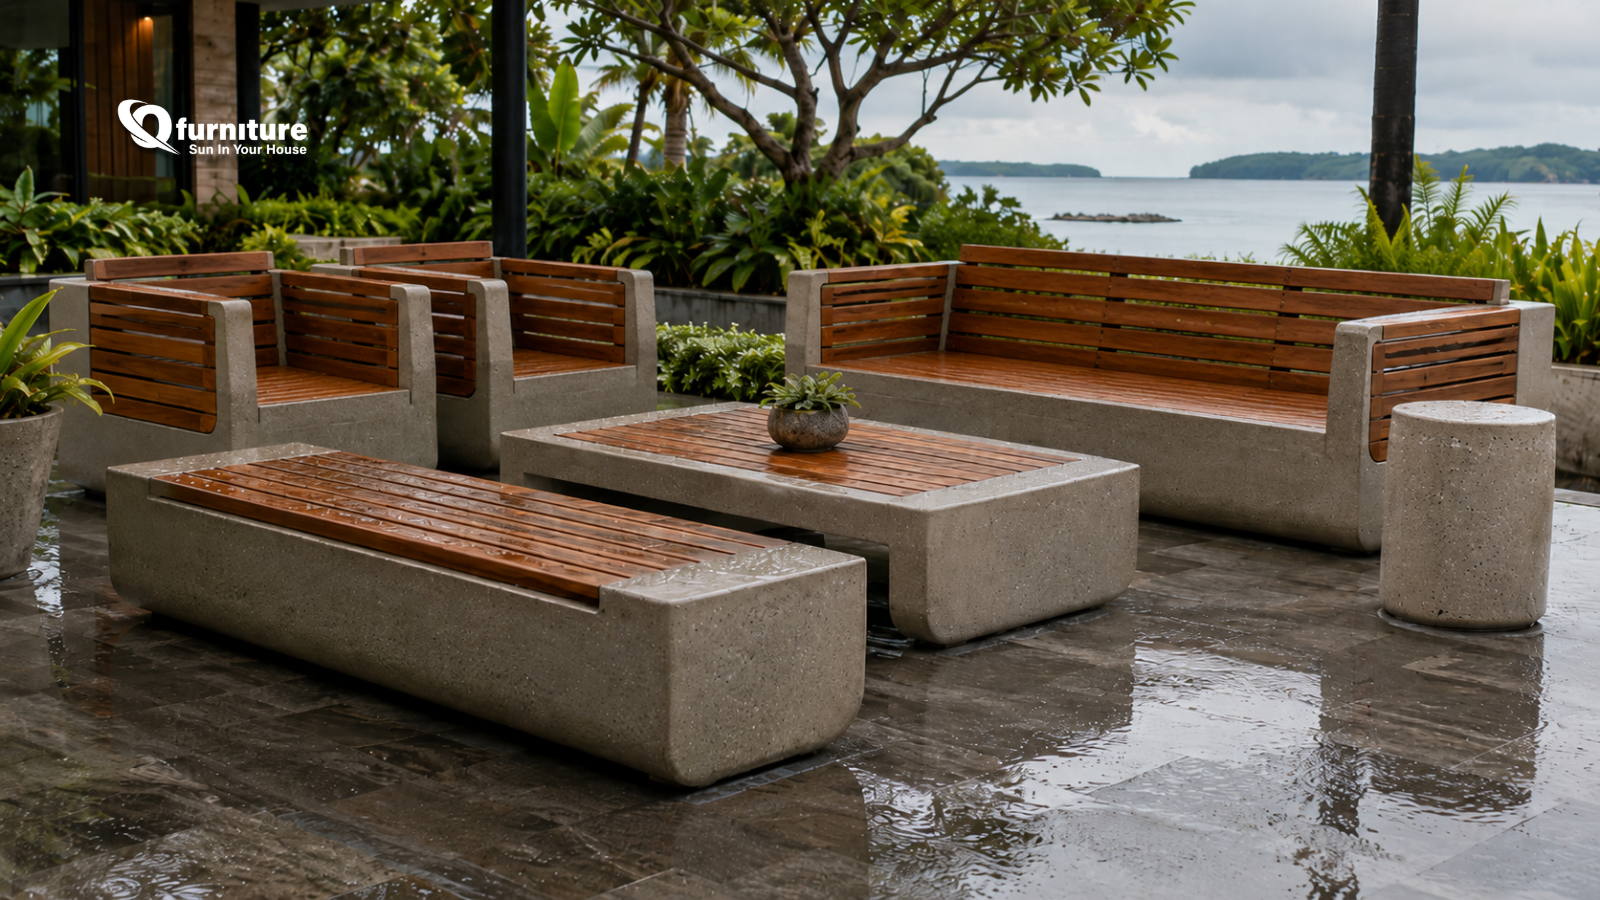
Concrete is a fairly durable material. As a result, a concrete bench is the greatest material to choose when building a garden bench that will last for years to come. This concrete garden bench is a great addition to any yard due to its simplicity. This is a fairly large concrete project, but it is easy even for those who have never built anything with concrete! Let Q-furniture Concrete Furniture help you!
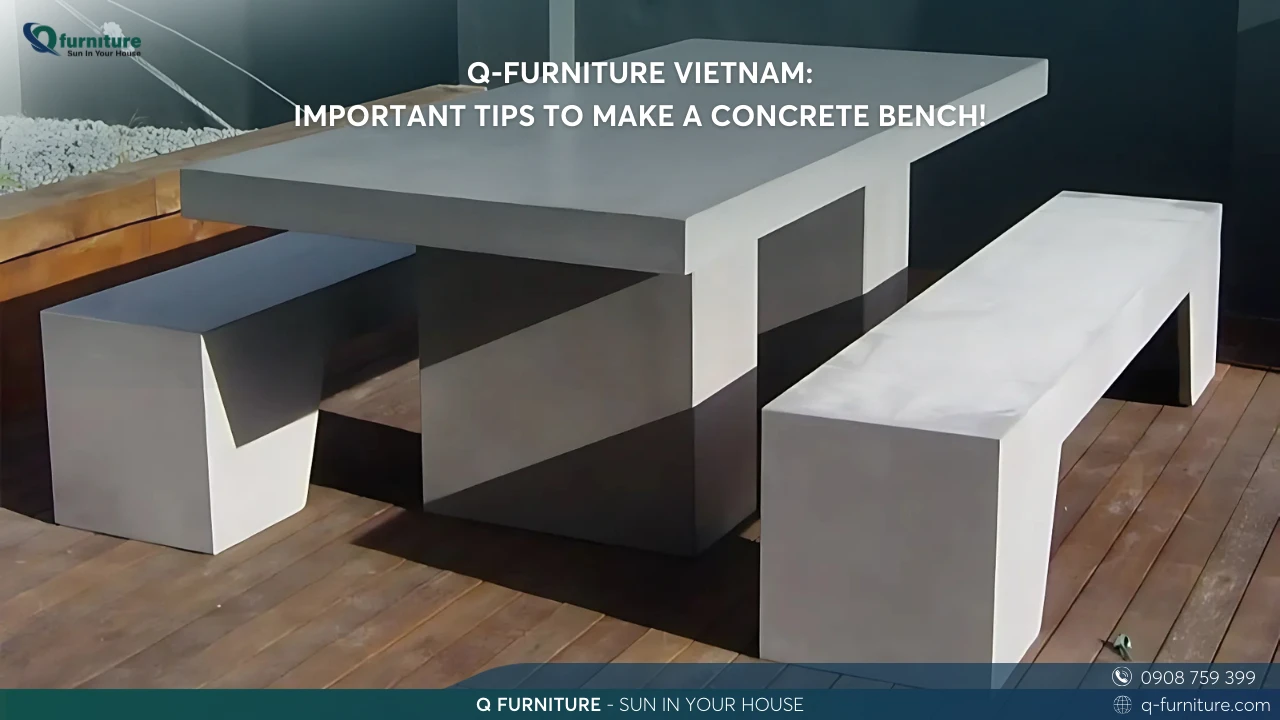
Q-furniture Vietnam: Important Tips To Make A Concrete Bench!
You need a melamine board or plywood that can be sprayed. Putting together a mold will make sure it’s water-proof and has a smooth surface. Venetian blinds plywood is a material that can be used to make molds. It is very smooth and waterproof. It is also very expensive. You should use template plywood if you want to reuse molds again. Otherwise, you can use a cheap melamine board. When it comes to the melamine board, the surface is smooth, but the sides aren’t water-proof. The cutting of the parts is done by the hardware store.

As a steel bar, we’ll utilize an old fence. We used an angle grinder to trim it down to size. Alternatively, you can get a rebar at your local hardware store. There are two things to keep in mind when working with rebars: Rebars must be at least 4 cm apart from the concrete surface when installing them. Concrete spalling will occur as a result if you don’t do this. Coated rebar or stainless steel rebar can be used near the surface when rebar is needed.
The steel bar must be as close to the seat as feasible. Taking a seat on a bench causes the bottom of the seat to be in tension. The rebar should be positioned in this area. This particular bench doesn’t need steel bars, so don’t dispute it. With a thickness of 15 centimeters, the seat should hold up well on its own. It is preferable to be safe than regret, however. When using silicone sealant, be sure to follow these instructions. It is essential that silicone sealant be applied to the joints when utilizing melamine board.
Concentrate On The Way Mixing The Concrete
Follow the instructions on the bag to mix the concrete. Let’s use a large plastic bucket and mix the concrete and water with a shovel. A good tip is to first calculate the water you need, then add 2/3 to the bathtub. Add concrete little by a little while mixing. Finally, add another 1/3 of the water. Use black pigment powder to make the concrete darker. Let’s mix paint and concrete together and did a terrible job. This is why concrete has a mottled appearance. But in the end, you will really like this!
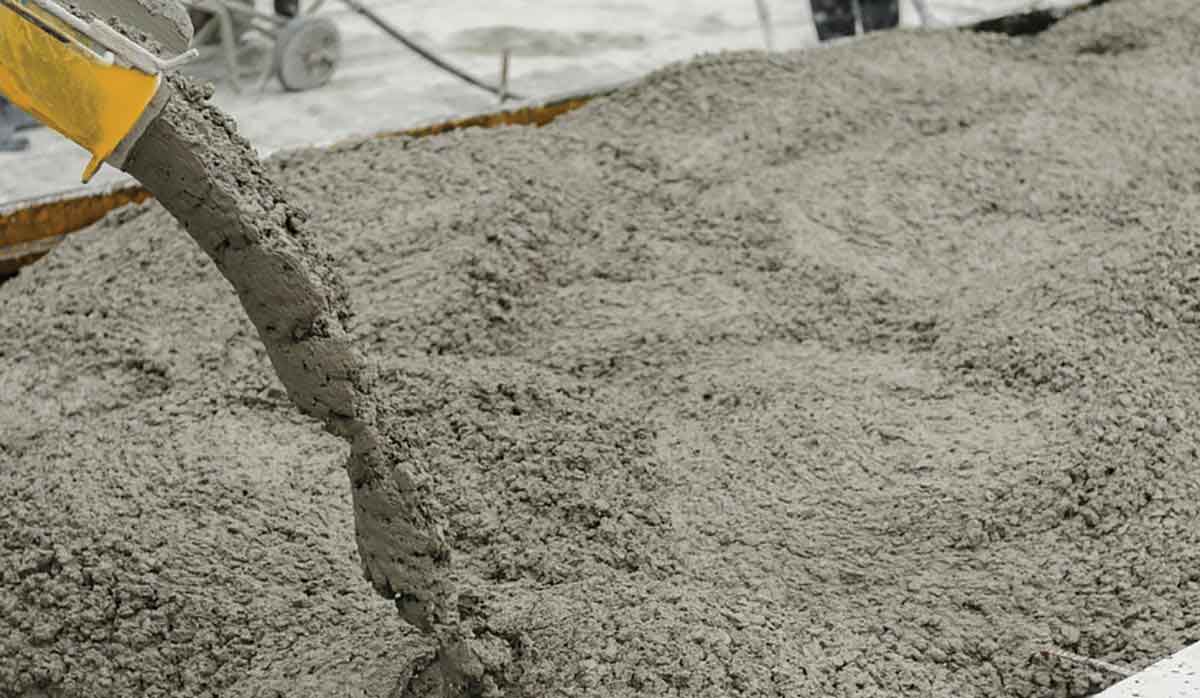
Note: Always wear gloves when mixing concrete. If didn’t know this, and made the mistake of touching the concrete, scooping it into the mold, or even mixing the concrete with my bare hands! The cement in the concrete is hydrophilic and will make your hands dry like desert sand! People who always wear gloves! In order to make the mold fall off easily, you must use a release agent. There are special release agents on the market!
Filling the Mold
You need a releasing agent to make it easier to remove the mold. A special release agent is available, but it’s not worth the money. As a means of dispersing the glue, we used silicone spray. Oils like olive, WD40, and petroleum jelly can also be used. The air bubbles in the concrete must be removed in order to get a smooth finish. Vibrating the mold is necessary for this, and we can utilize two distinct methods:
– Use a hammer to rapidly tap the mold. The bottom of the mold is smoothed with this (seat part)
– Apply pressure to the mold with an old orbital sander. A good way to remove the air bubbles from the legs and sides is to use this procedure.
A drill hammer can also be used to vibrate the mold.
Now that you know this, you’re ready to start filling the mold up with concrete. Spread and press the concrete into the mold’s base. Constantly touch the mold while you fill it with small amounts of concrete at a time. This is a big deal! Using the orbital sander on the bench sides is also a good idea.
Filling the bench’s seat requires first securing the board in place before moving on to filling the bench’s legs. Cover the legs with plastic foil once you’re done stuffing them. To keep the concrete’s water from evaporating, this is done.
Demolding
After five days, you’re ready to begin demolding. Use a joint knife to wedge the wood between the concrete and the unscrewed boards.